
Fujifilm cameras are well known for their built-in film simulations. These are the algorithms and settings that convert the raw sensor data to a JPEG image. Every digital camera has some sort of profile or set of profiles for controlling this conversion process, but often cameras have just one standard profile and then some additional adjustments you can dial in if desired.
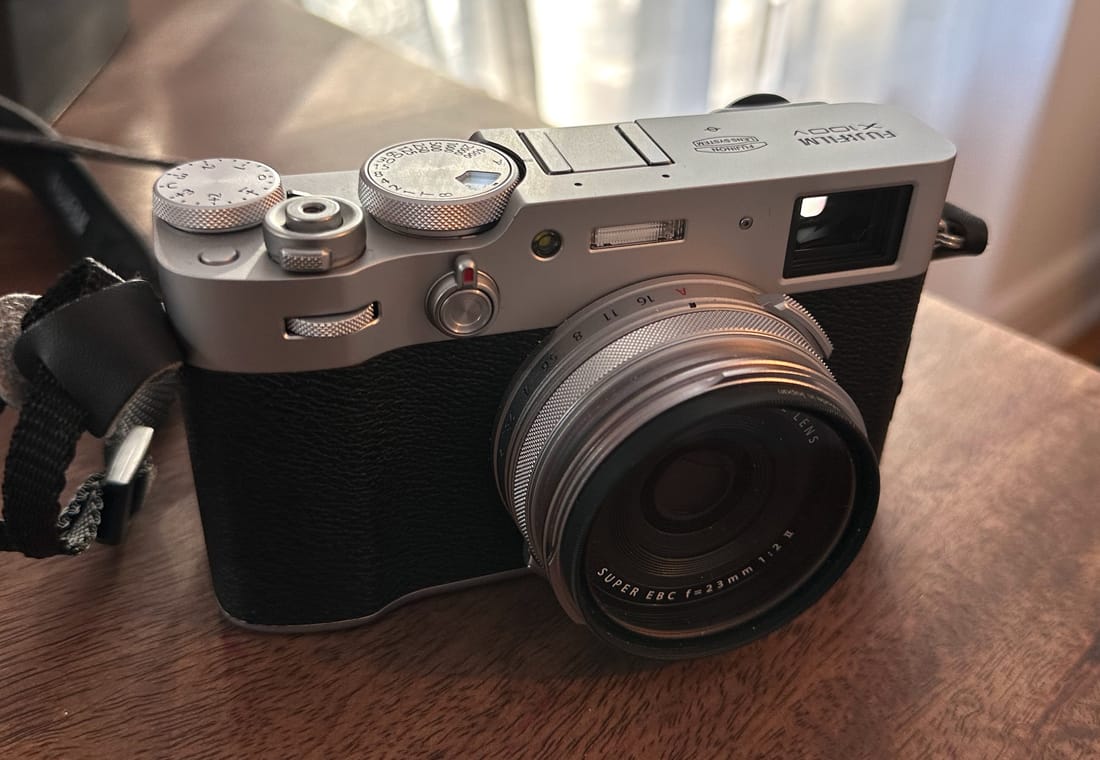
Building on Fujifilm's rich history in analog film, they have developed film simulations to emulate the color science and chemistry of many of their popular film stocks. My Fujifilm X100V comes with 17 film simulations—8 color, 8 black & white, and Sepia.
Film simulations are different than filters which are popular in consumer digital cameras, photo editing software, and social media apps. Filters are adjustments made to a JPEG image to provide an effect such as warm, vivid, or cool. They do not process the original raw sensor data, however, so they are already starting from an image that has been converted and adjusted to produce the source JPEG.
Fujifilm's film simulations were designed to specifically emulate the color sensitivity, tone, and grain of actual analog film stock. Choosing film stock was a degree of creativity analog photographers had at their disposal and has been somewhat lost with the shift to digital photography. Fujifilm has brought that back in a convincing way.
Film Simulation Examples
Custom film simulations can also be programmed into Fujifilm cameras and there is a community of photographers who have created their own simulations to emulate other film stocks such as those from Kodak and Agfa. The site Fuji X Weekly maintains a catalog of these "recipes" for each type of Fujifilm camera.
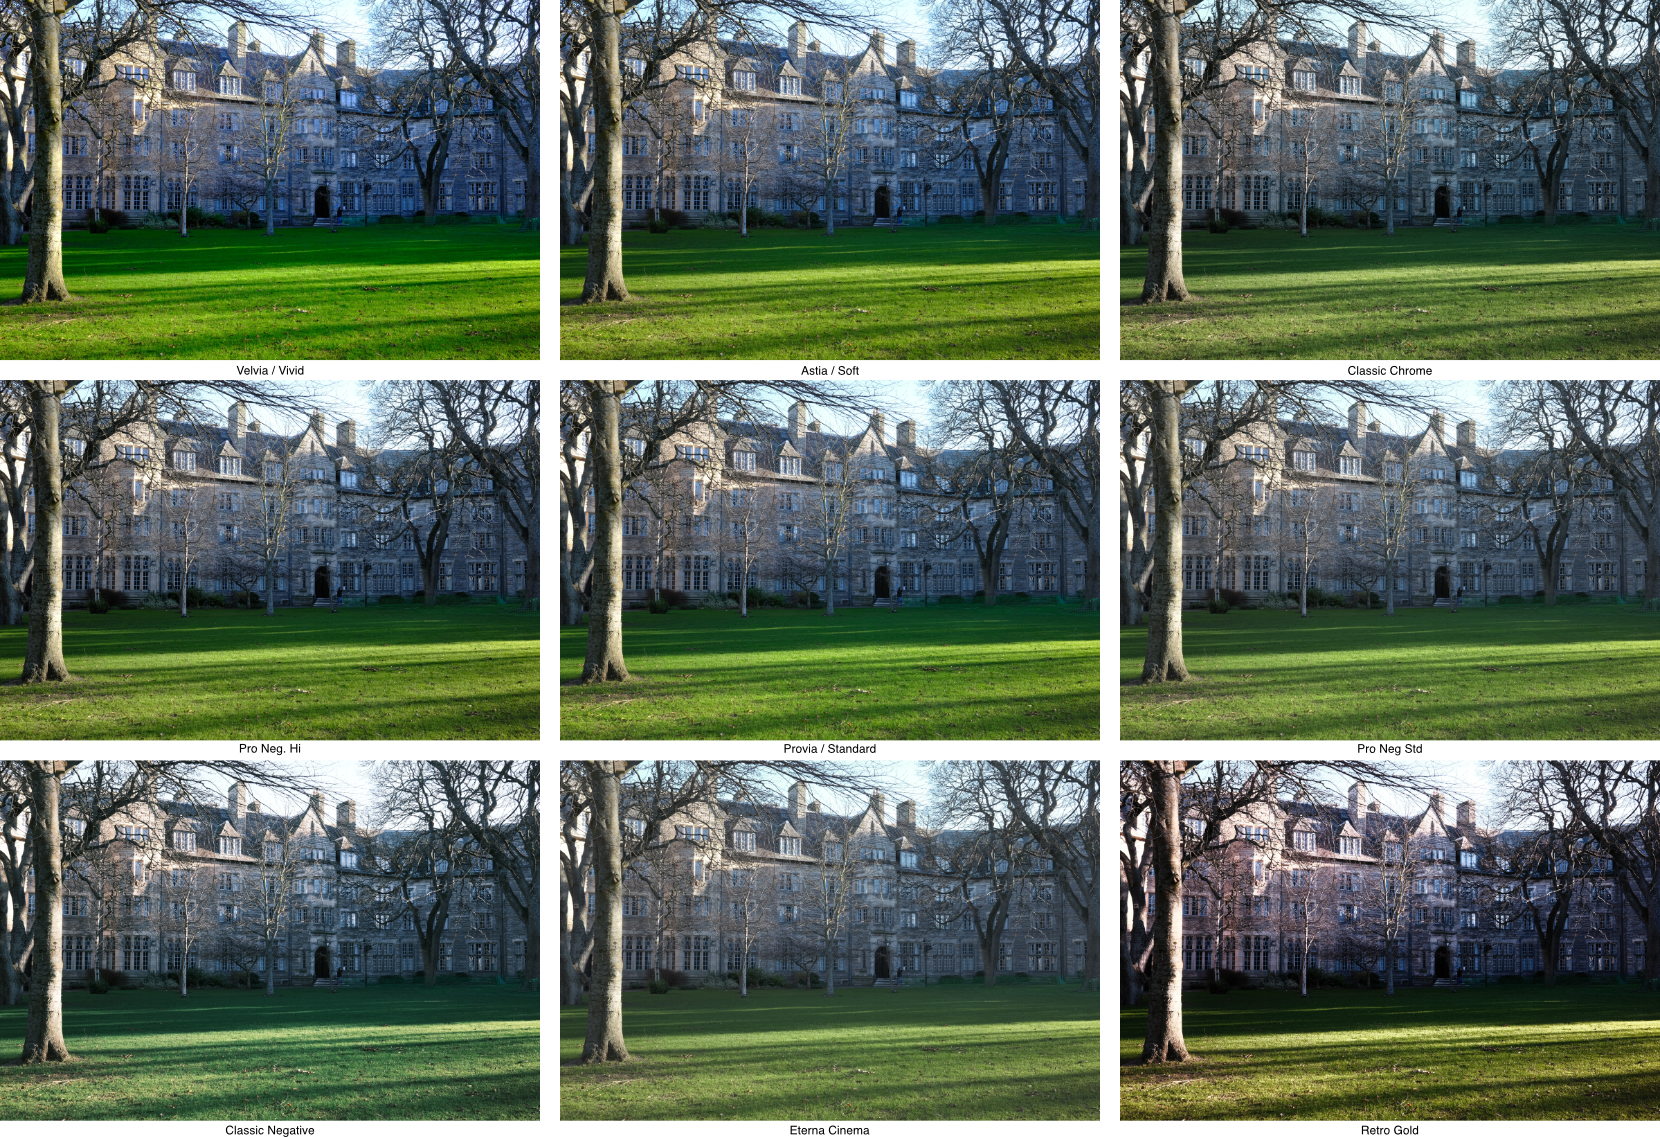
Above are examples of the eight built-in color film simulations on the X100V plus one custom recipe I programmed in my camera. The center image using Provia is the default film simulation in Fujifilm cameras and the one I shoot with most often. You can see how it compares to the other seven built-in simulations. The custom simulation, Retro Gold, in the lower right corner, is an example of how you can use the same feature to program filters or effects if you like.
Using Film Simulations
To experiment with film simulations, you'll want to shoot RAW or RAW+JPEG. If you shoot JPEG only, you can only select one film simulation and won't be able to change it afterward. But if you have the RAW image, you can apply different simulations and adjustments later and convert the RAW image to a new JPEG using those settings. This conversion process can be performed on camera or using their FUJIFILM X RAW STUDIO application.
Once you get used to the settings that you like for different situations, you can program your favorites into one of the quick access buttons or knobs and shoot only JPEG, if you prefer. There is even a bracketing mode for shooting three simulations at once.
I find these film simulations fun to experiment with and a nice way of adding a degree of creativity for choosing a specific film without overdoing it and the feature is one of the reasons I opted for a Fujifilm camera. I like the quality and look of the JPEGs as they are captured rather than having to spend a lot of time editing and adjusting them later.